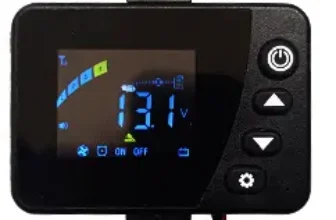

Mobile application available for Android and iPhone
Download link Android
Download link Iphone
Start -up / First ignition / Off
To use the heater for the first time, After the installation you have to purge the circuit, If the heater is not done, he will not start or emit heat. The heater is delivered with a transparent tube so it can be observed whether or not the diesel has reached heating, If it is not verified and there is an excess of purged, In the first start a lot of white smoke comes out, If this happens, you have to let it turn on and disappear on its own, In no case must we turn it off as alarming that it is.
Once launched (Short pulsation in the ignition button), The heater will take between 3 y 7 minutes to reach the normal working temperature, be patient and do not interrupt her.
Adjust the power or temperature according to the mode of operation you have selected. (See below the operating modes)
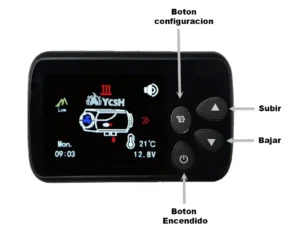
Briefly press the ignition button to start the operation. And leave it pressed 3 seconds to turn it off. The off will not be instantaneous, required between 2 y 10 minutes until the unit is completely refrigerated, she alone turned off the fan when it ends.
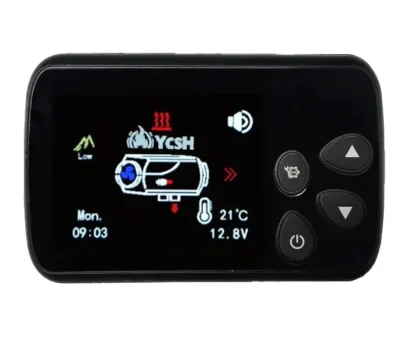
Description of the screen on waiting (turned off):
Data shown on the screen:
- Room temperature
- altitude (Hight / Low)
- Battery tension
- Failures (If there are)
How to purge from the screen
With the heating off off and keep it clicking for a few seconds to enter the configuration menu.
On the configuration screen, Press the up/down button to select the purge option as shown in the image.

Now select the time in seconds you want to have the pump purging, They are by default 20 seconds, being able to increase or decrease it between 10 y 120 seconds.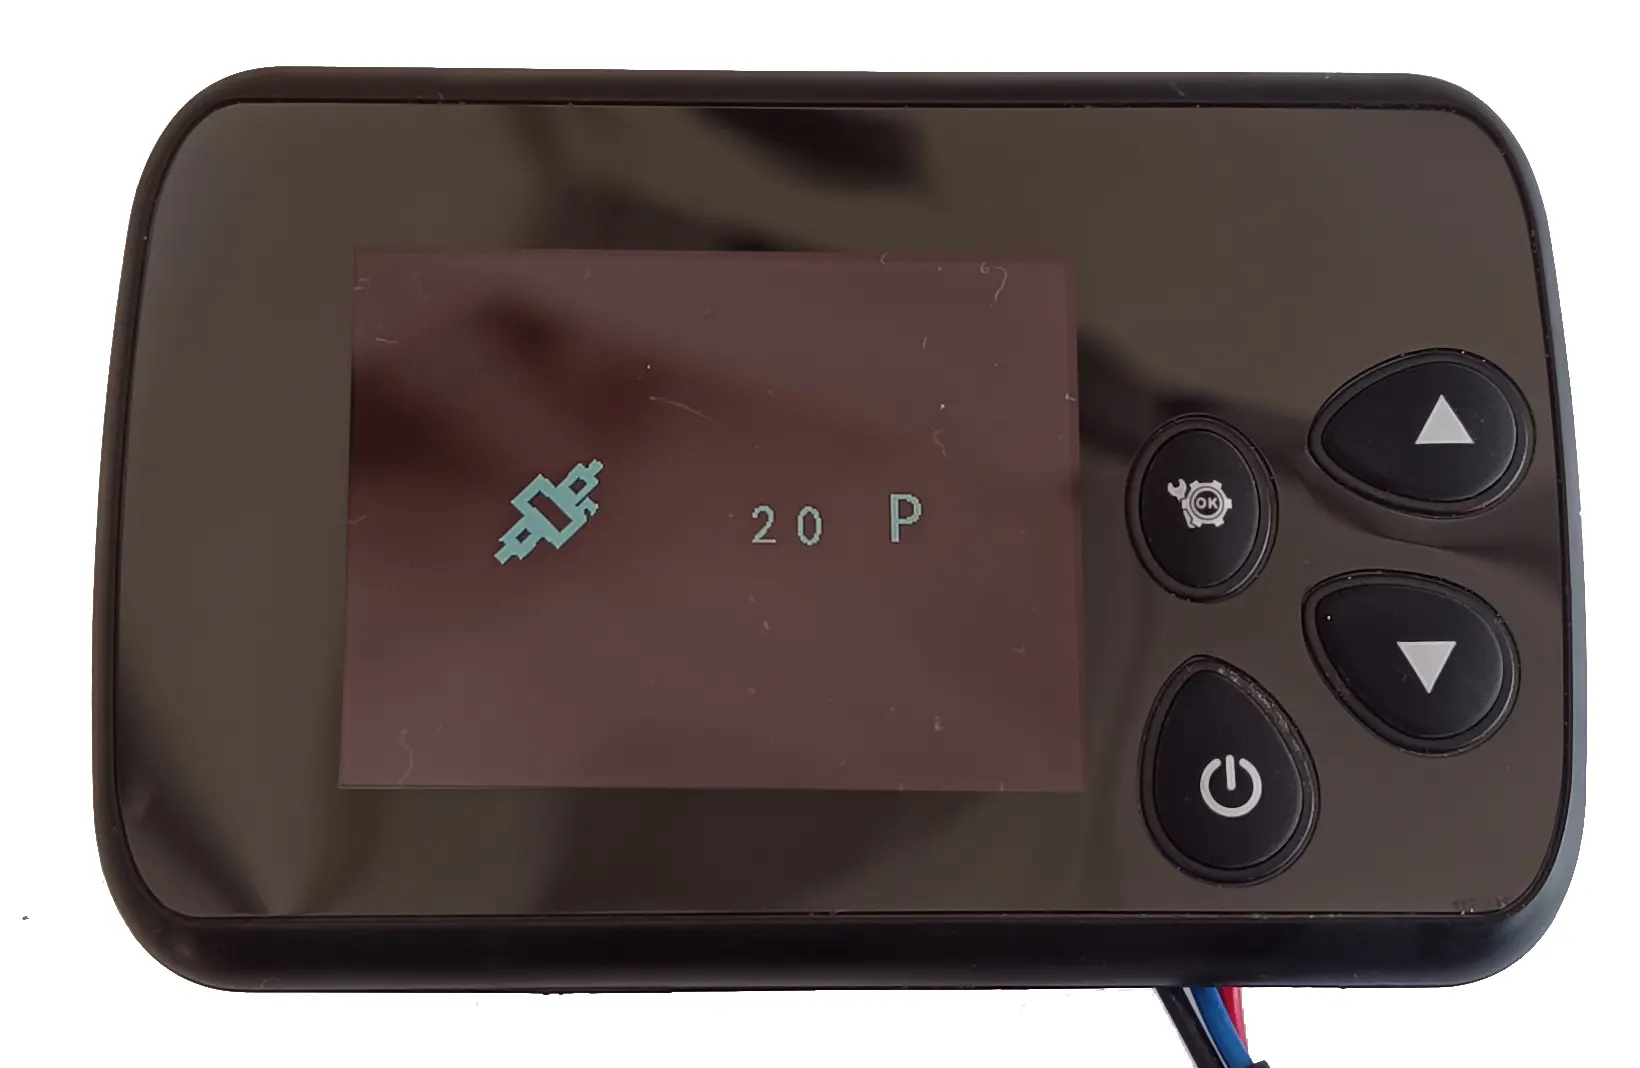 Press the ignition button to start or stop.
Leave / Maintaining the ignition boot to get out of purity mode, waiting 20 seconds to exit automatically.
Height mode
Works fully automatically, Approximately 1500m will be self-support to work at height without doing anything, It will internally modify the air-diesel ratio for its correct operation..
Always show an icon on the left side indicating low/hi depending on whether it is activated or not.
Screen
During normal operation the screen will remain on until past 5 minutes, At that time it will be black and there will be a white point flashing.
When heating is off, The screen will be fully put in black to 5 minutes of having touched it last time.
Bluetooth mobile application
Depending on the type of mobile you have, Download the corresponding application to control the heating from your smartphone IPhone & Android
exist 2 Ways to connect to the screen
- Tightening automatic connection button
- Scanning the QR code with the heatgenie application
The QR code is located on the back of the screen, It corresponds to the MAC Bluetooth of the device. IT IS NOT DONE FROM THE QR READER.
Since the sticker with the QR code is located at the back of the screen, The simplest thing is always to press the automatic connection button, will connect to the screen around you with the strongest signal available.
Operating modes
This screen has 3 operating modes.
- By degrees / AT (thermostat mode without turning off the heating, raises or lowers the power to reach the temperature and then sets it to minimum AT) Allows adjustment between 10-40º
- By power / MT (You can select a power and it will remain that way indefinitely. MT )Allows adjustment between P1 and P10
- Thermostat mode / ST (Turns off the heating when it reaches the indicated temperature ST) Allows adjustment between 10-40º
In ST mode (thermostat) Hysteresis can be adjusted between (1 y 10 degrees) or between (3 y 15º) depending on the date you bought it. That value, It is the one that will determine the temperature difference between which the heating is turned off and comes back to. A high value will reduce the on/off but there will be a larger temperature difference. Instead, Putting low value can increase conford, But it will have the heating on and extinguishing constantly, reducing the useful life of the ignition spark plug.
Depending on the size of your vehicle, and the conford to seek will better use one way or another.
* Important! If we squeeze to Encener, On the screen put on and immediately then off is because we have the way 3 (Thermostat mode / ST) activated, and the selected temperature is lower than the environment.
How to change operating mode
With the heating on, it can be alternated between the MT and AT modes. To activate the ST mode can only be done with the heating off.
To alternate between at and MT clicks during 4 seconds the arrows up and down at the same time, will change from one way to the other. It can also be done from the remote control by pressing the button on during 3 seconds.
To activate the thermostat mode you have to enter the configuration, then in adjustments, We put the password (1234). And we activate ST mode, In doing so we can modify hysteresis.


 Short pulsation with the lighting button to enter the hysteresis configuration menu, And we adjust it with the arrows.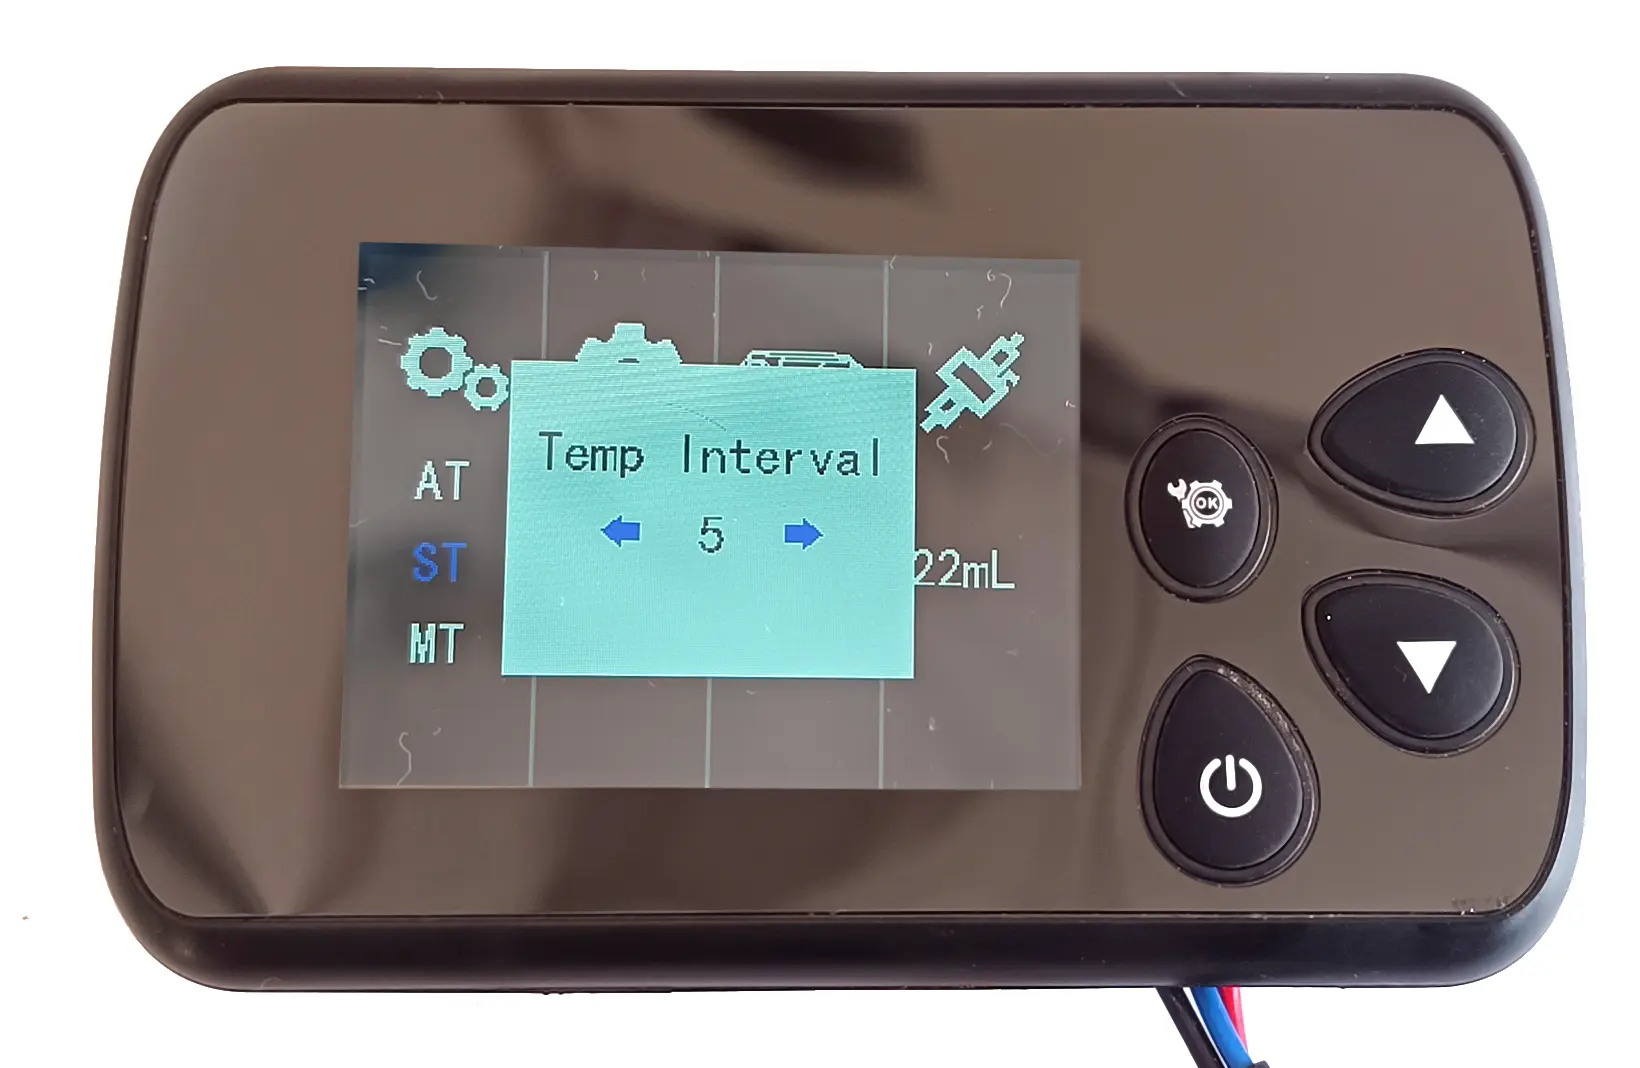
To get out of the menu and save the changes we leave pressed 3 seconds the ignition button.
You can alternate between at/mt modes quickly by clicking the 2 arrows at the same time during 5 seconds.
Associate the remote control
With the heating off
Press in the configuration button and place in the remote control option
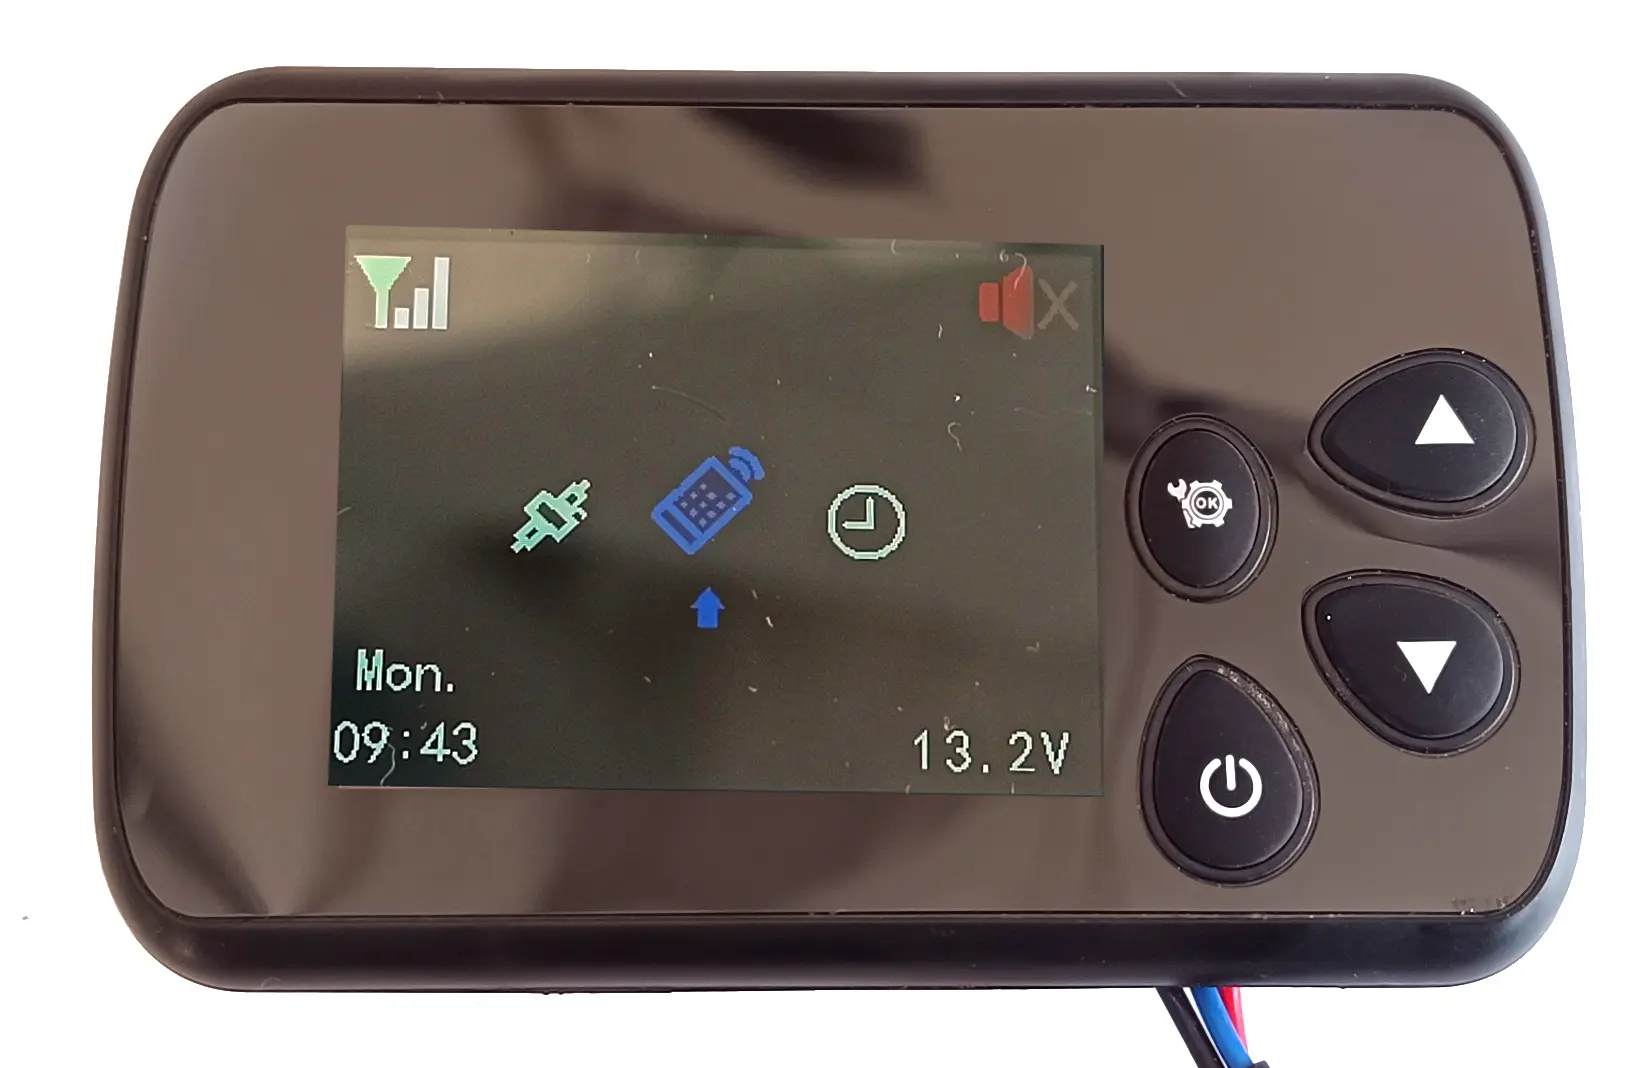 We confirm the selection with the light button.
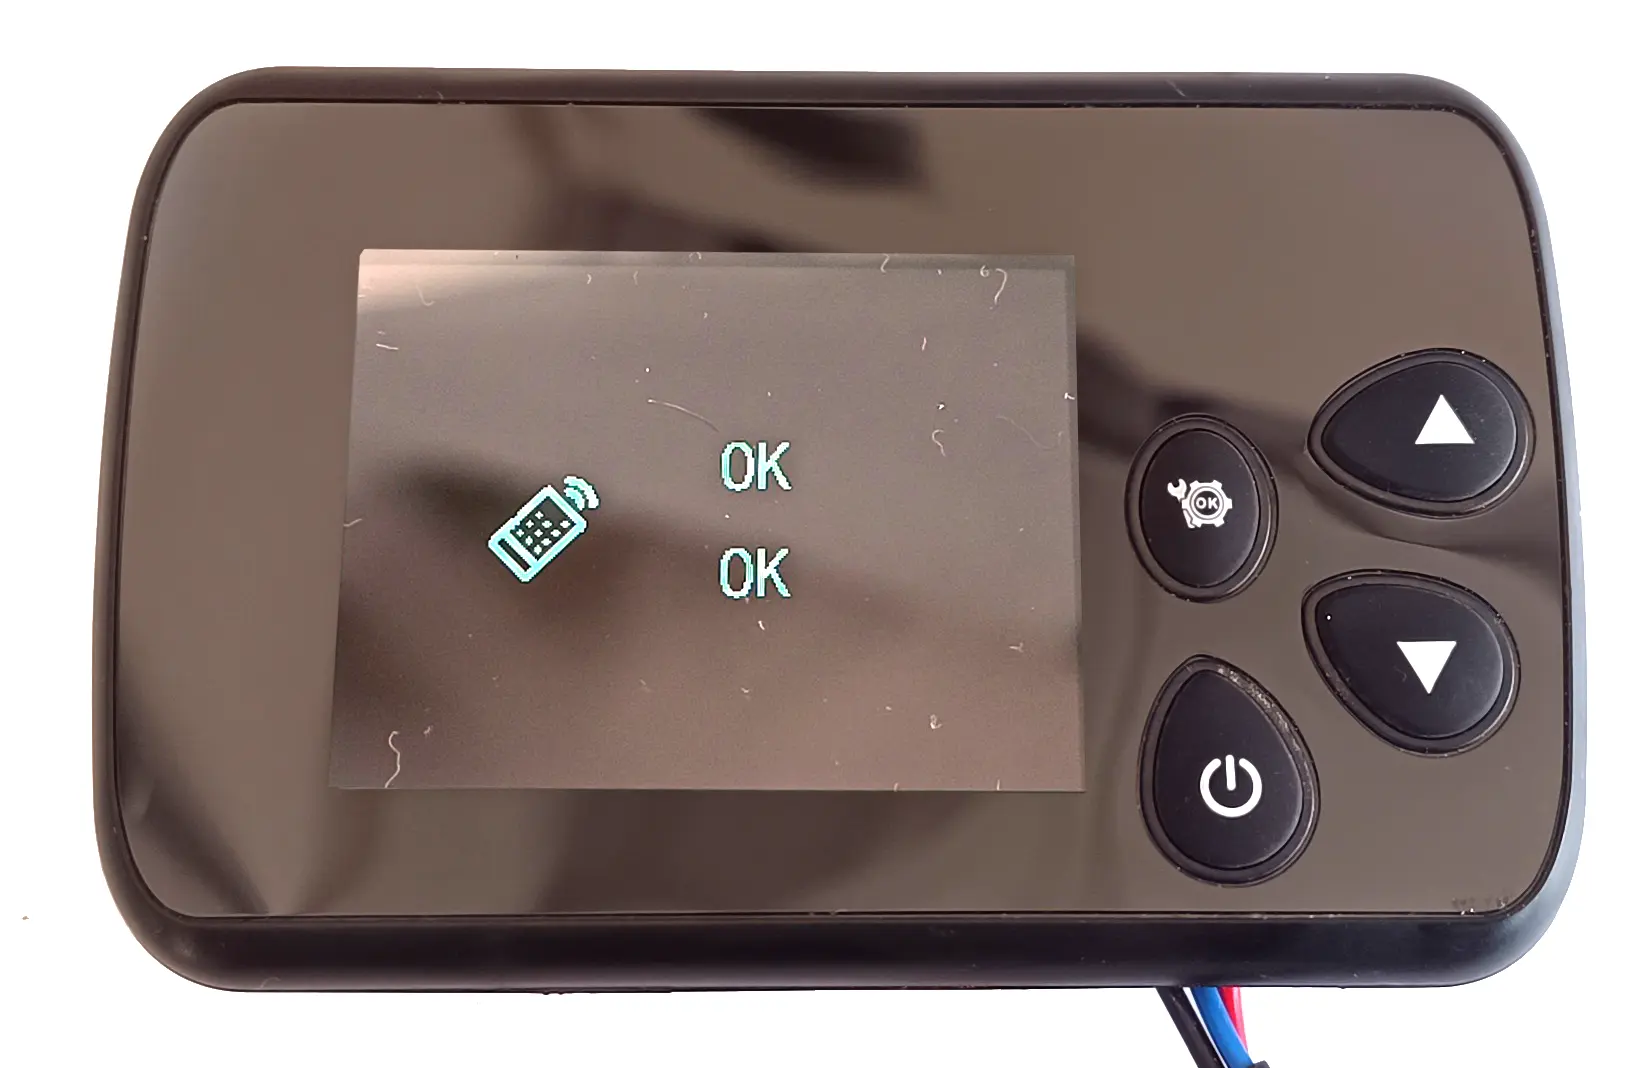
Once inside the submenu, two OK buttons appear on screen, They correspond to the control button and the off button, You just have to press the buttons in the remote control to make the synchronization, Once completed, it automatically returns to the main menu.
Temperature measurement unit
With the heating off, hold down the button “setting” and select the menu c/f click the configuration button to enter, With the arrows select Celsius or Farenheit and press the ignition button to confirm and save the configuration.
We can also adjust it faster on the main page by holding the arrow up for 5 seconds. Repeating it to alternate among the different options.

Adjust configuration parameters
We keep the configuration button for the configuration button once the menu select the option “setting” The icon shown in the image.
The configuration button is pressed to select the configuration submenu and ask us for a password that is 1234.
With the arrows we are filling the password and we confirm with the ignition button.
Once inside the configuration menu, We can select the 3 Fucionation modes (described above), The voltage, If it is 2kw, 5kw o 8kw, and the ml of the bomb, 16, 22, 28, 32ml. The pump supplied with heating is 22ml. Once we adjust the configuration according to the model that we have bought, we leave the turn on until it returns to the initial screen, If it is not done so and we wait for it to leave the 45 seconds, The changes will not be saved.
Voice Adjustment
We keep the configuration button for the configuration button once we select the icon shown in the image.
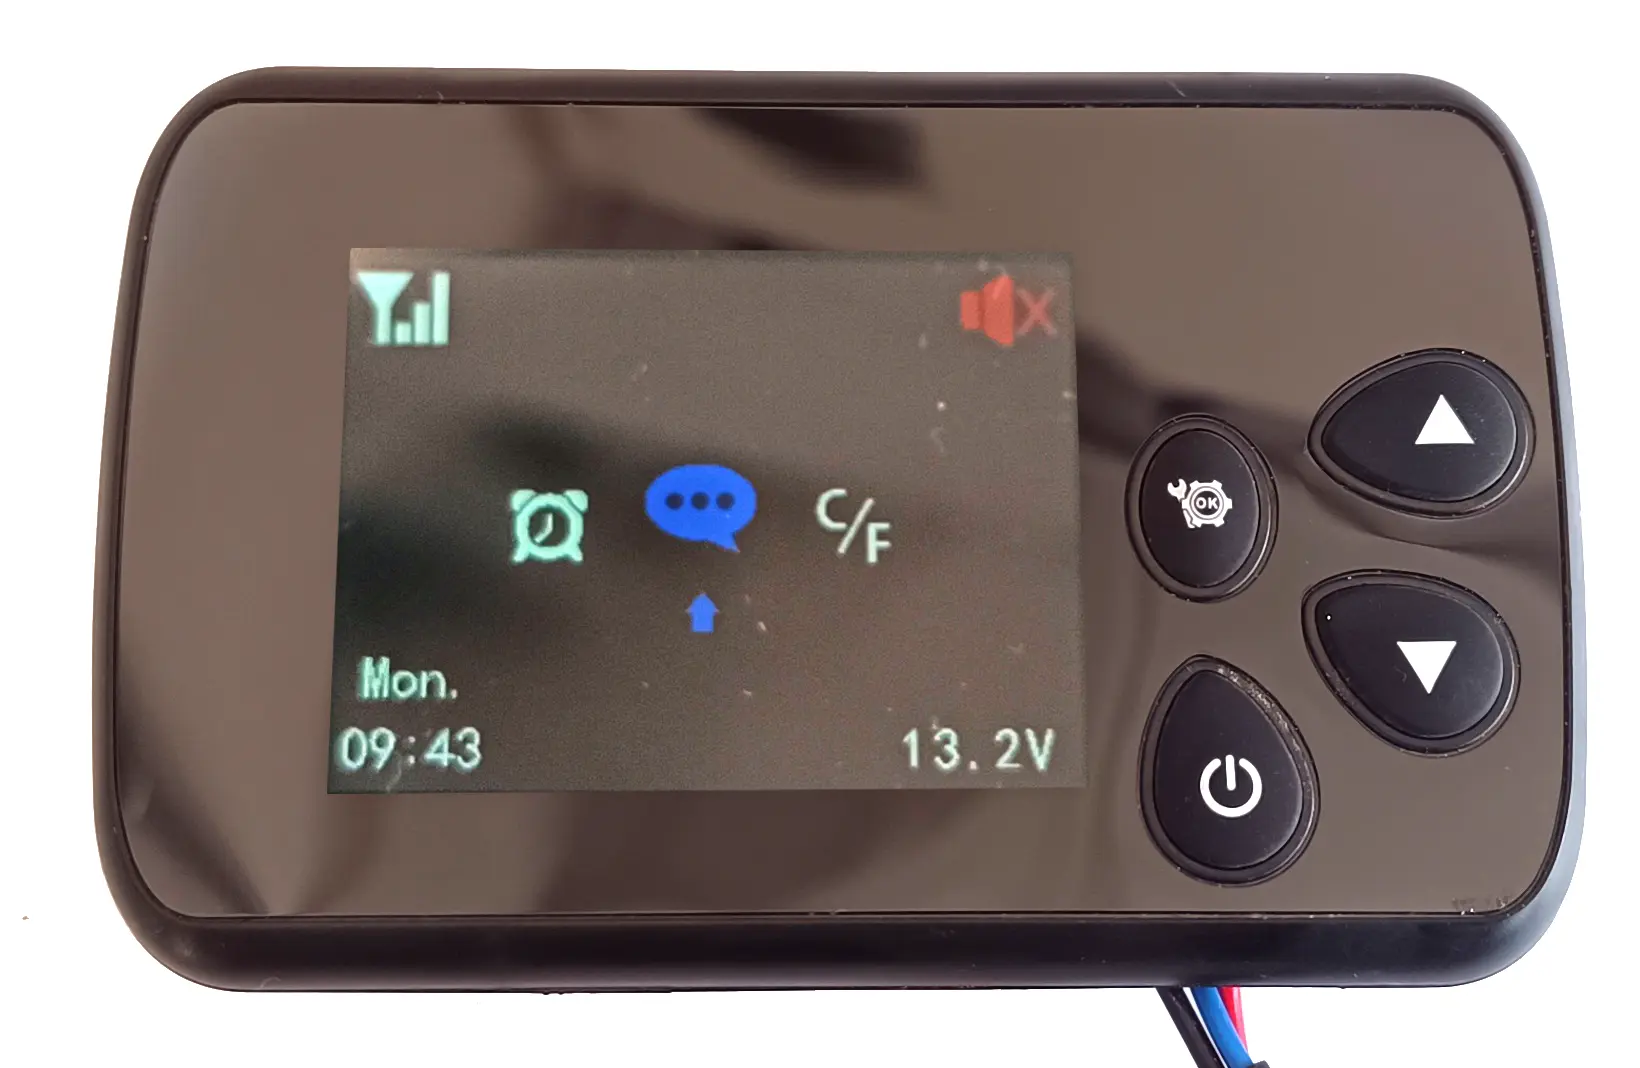

A menu will appear with 3 options,
- L-C (chino)
- The F (ingles)
- L-0 (Without sound)
We select the desired option and keep the ignition button to save the changes and return to the main screen.
It is also possible to activate/deactivate the voices quickly keeping the arrow down for 5 seconds, An icon of a red speaker appears in the upper right corner if they are turned off, and a white speaker if they are active.
Screen time configuration
We keep the configuration button to the setting once the menu select the icon of the “clock” that is shown in the image.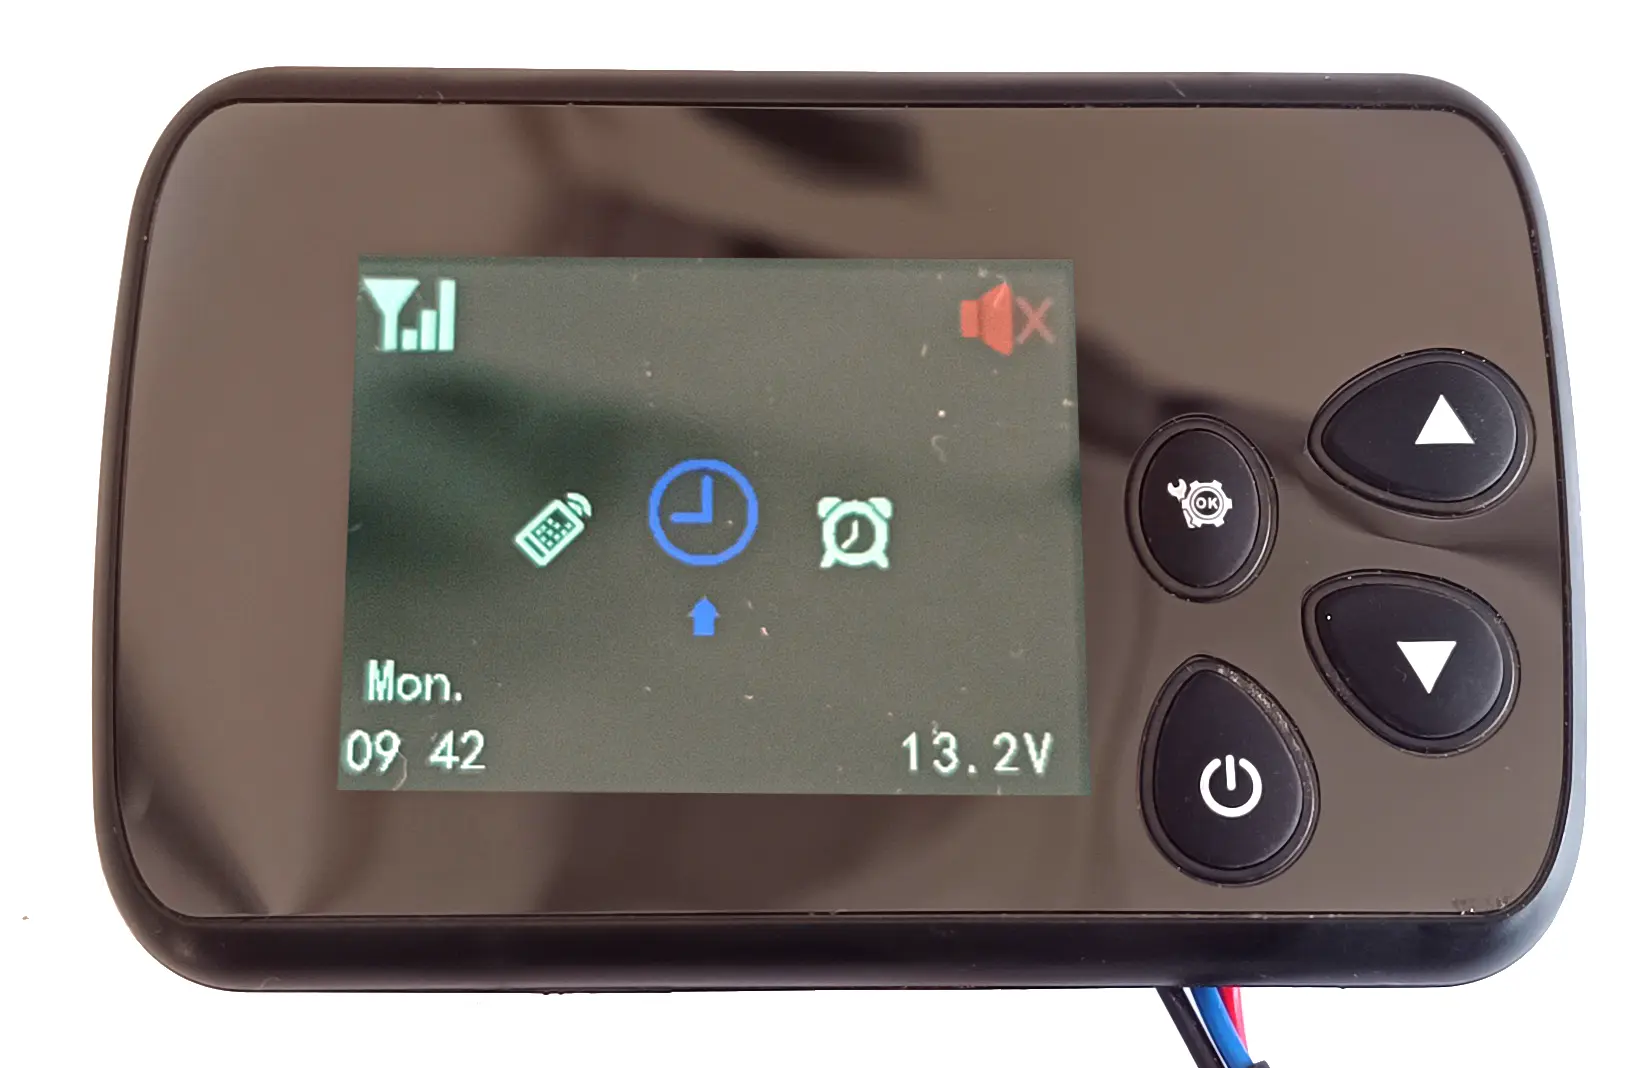
 Will give us the option to modify the time, The minutes and day of the week (in English) Mon (Monday), Tue (MArts), Wed (Wednesday), Thu (Thursday), Fri (Friday), Sat (Saturday), Sun (Domingo), With the arrows we modify the value, And with the ignition button we alternate between time/minutes/day of the week.
We save changes and go to the main screen keeping the ignition button pressed.
Ignition programming
We keep the configuration button to the setting once the menu select the icon of the “clock/alarm clock” that is shown in the image.

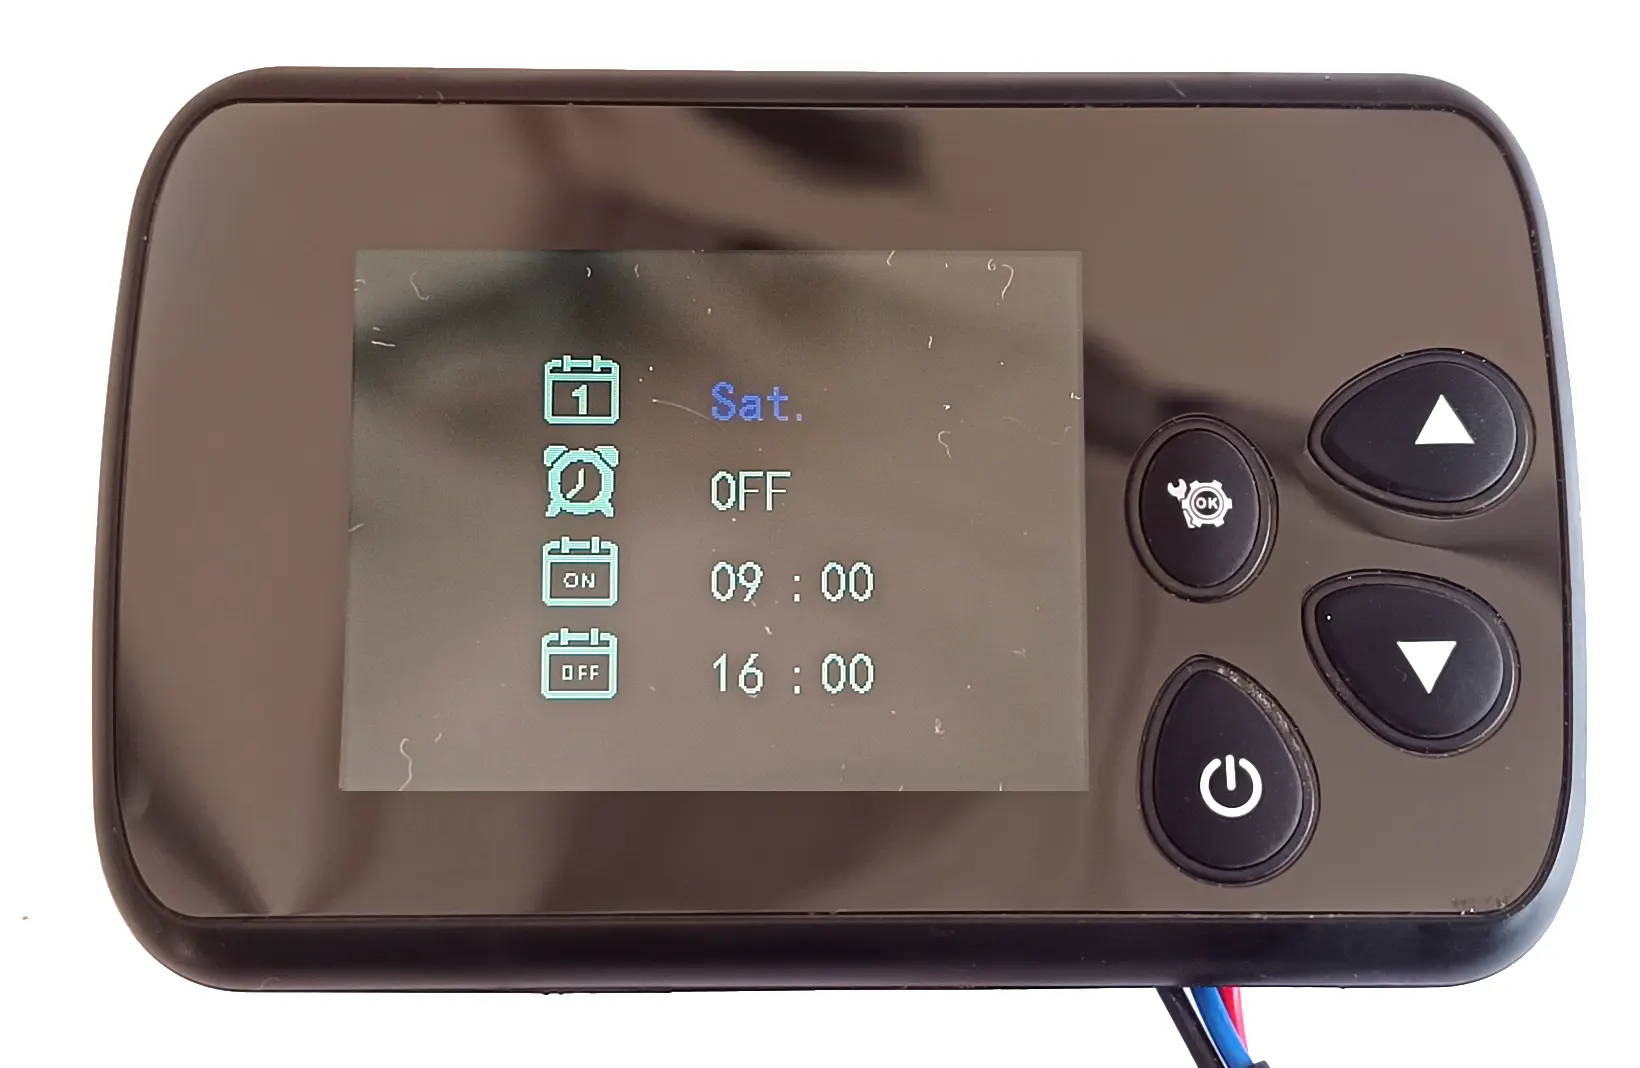
A submenu appears with the following options
- Day of the week (in English) Mon (Monday), Tue (MArts), Wed (Wednesday), Thu (Thursday), Fri (Friday), Sat (Saturday), Sun (Domingo)
- OFF / M-L (repetitive) / M-S (Simple programming)
- Ignition time
- Shutter time
If we activate any programming, On the main screen, Upon all an icon will appear with a large p, indicating that the programming is active.
Selecting the day of the week, We can schedule the ignition and off of each day of the week individually. From the mobile application, programming can also be done, being more visual, simple and intuitive.
Fan ignition
Keeping the ignition button for 8 seconds, We can activate the fan mode (without heat), With the option to adjust between P1 and P5 to adjust the fan speed.
To turn it off, we keep the ignition button for 3 seconds.
Error codes list CH22V3
| FAILED / ERROR | Error code on the screen | Solution |
|---|---|---|
| Low voltage | E-01 | Voltage below 10v in the 12v version or 18v if it is the 24v version |
| High voltage | E-02 | Voltage above 32v in the 24v version or 17v in the 12v version |
| Bujia | E-03/F1 | Short circuit in the spark plug |
| E-03/F2 | Open circuit | |
| diesel pump | E-04/F1 | Short circuit |
| E-04/F2 | Open circuit | |
| Overheating | E-05 | It has exceeded 260º obstructed air circuit |
| engine failure | E-06/F1 | Short circuit |
| E-06/F2 | Open circuit | |
| E-06/F3 | Hall sensor does not detect the fan | |
| Screen connection failure | E-07 | Check wiring and that the connector is well connected |
| Flame failure | E-08 | Air in the circuit, obstruction or lack of fuel |
| Temperature sensor | E-09/F1 | Short circuit |
| E-09/F2 | Open circuit | |
| Ignition failure | E-10 | 2 failed boot attempts, check that you get diesel, striped cuff, pump the blocked circuit |
| Room temperature sensor | E-11 | Open or short circuit |
| Control unit overheating | E-12 | The control unit is above 100º air inlet or outlet blocked or damaged control unit |